my new year holiday is best spend in the garage working on the Passola.
The cracked engine cover has been repaired and it is ready for the next job. which is apprently the assembly of the engine.
 |
| welded engine cover been smoothen with a dremel |
 |
| inner part of the welded engine cover |
one issue close out, bring out another. one of the screw holes is broken down when i'm trying to remove the crooked screw. to get things going, i proceed with gluing the component together with milliput. i've never use it before, it is easier to mold and to my surprise, it does give you a strong bond and hard like a resin which you can tap a new thread out of it.
 |
| milliput compound on the engine screw holes. |
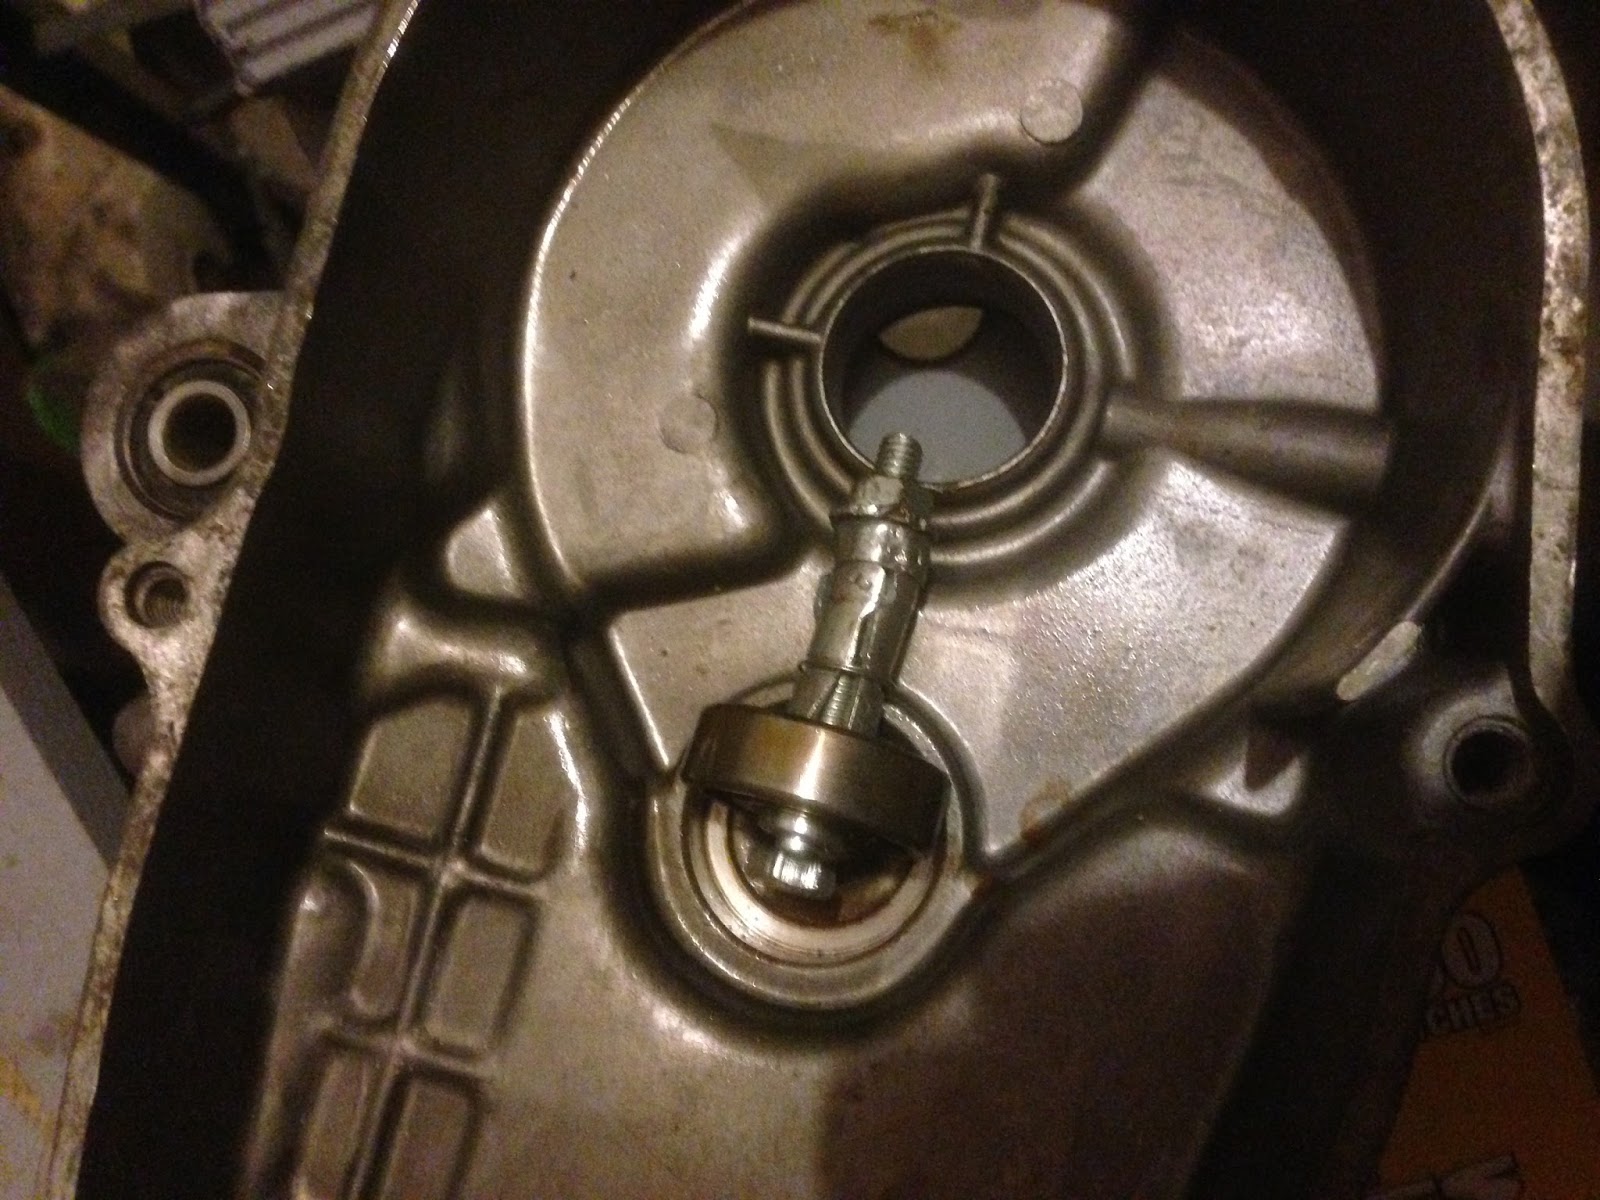
in preparation for assembly, since i'm intend to change all the bearings and seals. the rest of it will need to go as well as part of the wear and tear which apparently need a replacement. out of the rest, the most troublesome would be the bearing where the second gear shaft rest. instead to invest on the tools, i've got myself a 10mm wall plug for the job. with a slight modification on the wall plug you can tug out the bearing,
 |
| using wall plug to as a blind bearing puller |
 |
| how it was mounted. |


Comments
Post a Comment